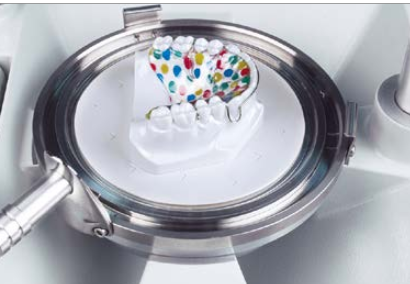
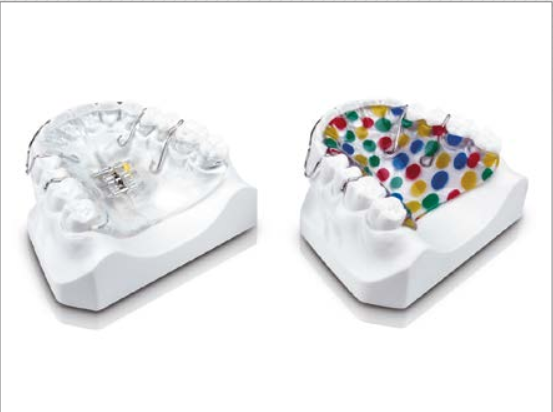
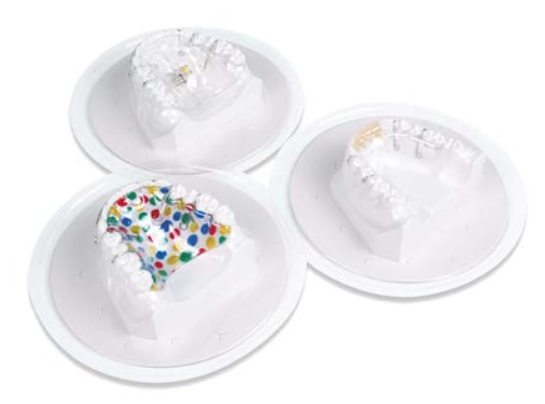
Model duplication
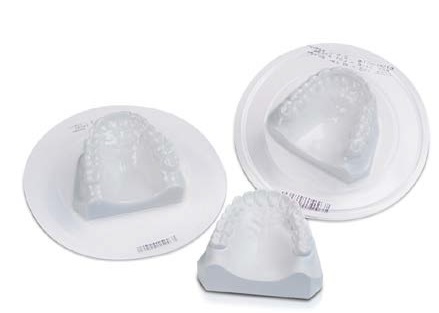
List of Materials:
BIOPLAST® 2.0/3.0 mm for plaster study model
COPYPLAST® 1.5/2.0 mm for resin study model
1. Insulating and embedding
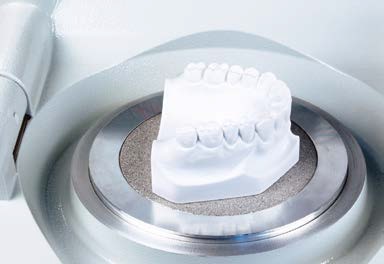
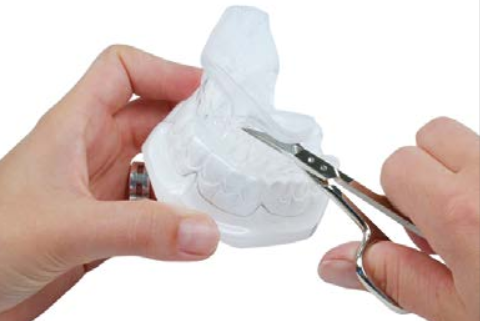
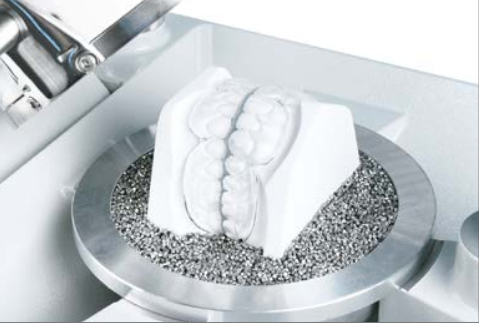
Trim the bottom of the model flat and soak shortly in water.
Place the plaster model on the platform.
2. Pressurizing
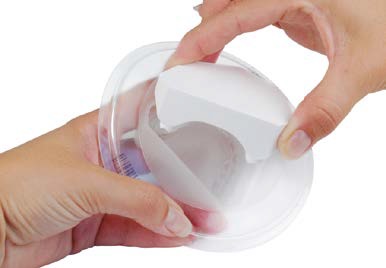
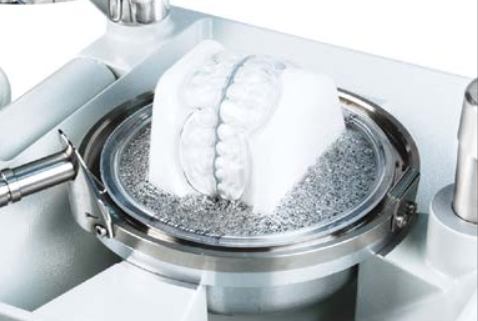
Heat the foil by setting the code or recommended heating time
according to the instructions. Close the pressure chamber and
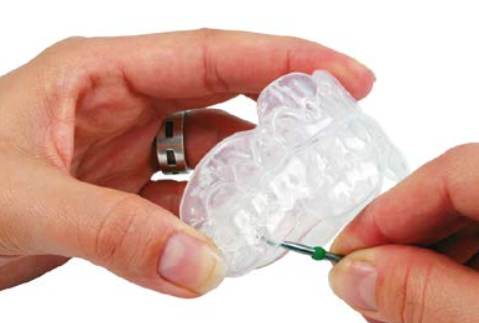
open after cooling phase has finished. The moulded duplicating
form should not be trimmed to keep it stable.
3. Finishing

We recommend to pour in plaster and suspend the mould in a
mixing bowl filled with water, in order to reduce any deformation
to a minimum extent due to the weight of the plaster. Nevertheless,
as deformations may still occur, these duplicates can only
be used as study models in orthodontics.
Hints:
COPYPLAST®should only be used for models with stable teeth and small undercuts.
BIOPLAST®moulds are not suitable for pouring resins.
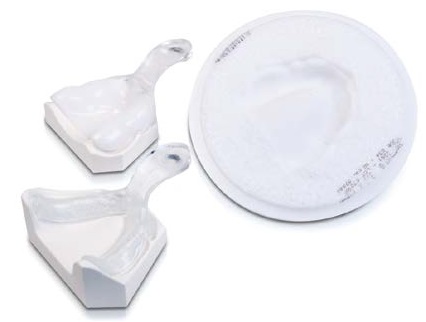
Individual tray Functional tray
List of Materials:
IMPRELON®clear 2.0 / 3.0 mm
IMPRELON®opaque 3.0 mm
Blocking-out putty®
SIL-KITT®
Foam disks®
STEADY-RESIN S®
STEADY-RESIN M®
STEADY-RESIN S+M®
Finishing set®
1.Insulating and embedding
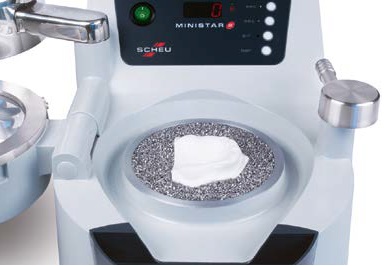
Block out undercuts and single teeth with blocking-out putty. Embed the
model up to the fold, so that the model parts which shall be moulded are
above the model cup rim. Fill up model cup with pellets up to the upper rim
and make sure the edges of the cup are clean.
Heat
2.Pressurizing
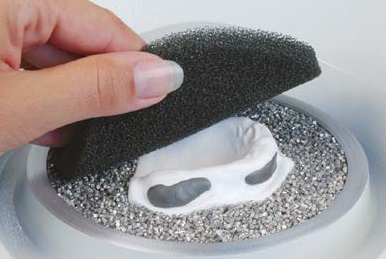
Heat the material by setting the code or recommended heating time according
to the instructions. Place the moist foam (approximately 1 cm thick)
serving as a space maintainer for the impression material and roughening
the surface of the tray over the model. Depending on the requested space,
up to 3 layers of foam can be used. Close the pressure chamber and open
after cooling phase has finished.
ATTENTION:
Make sure the edges of the cup are free from foam material.
3. Finishing
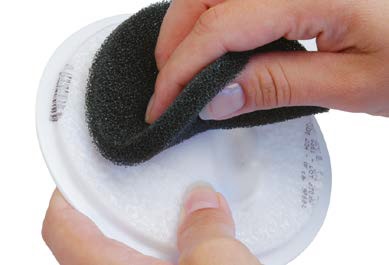
Remove the foam space maintainer from the tray. Excess material is removed
with a cutting bur (REF 3214) or with carbide cutter (REF 3369).
Finish with fine carbide bur (REF 3370). The impression tray is heated over
flame and adapted to the ridge.Final fixing of the handle to the tray is done
with STEADY-RESIN or similar cold cure resin.
Bite registration tray
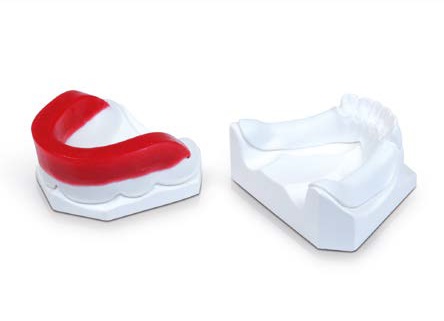
List of Materials:
IMPRELON®white 2.0 /3.0 mm
Blocking-out putty®
Cutting bur®
Finishing set®
1.Insulating and embedding
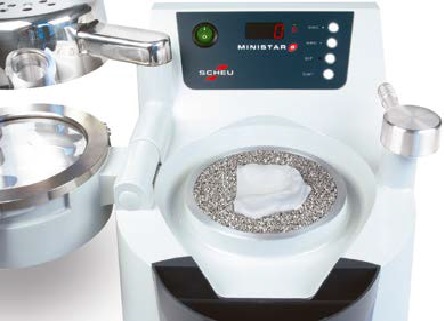
Block out undercuts and single teeth with blocking-out putty. Embed the
model up to the fold, so that the parts of the model which shall be moulded
are above the rim of the cup.
Fill up the model cup with pellets to the upper rim and make sure the edges
of the cup are clean.
2.Pressurizing
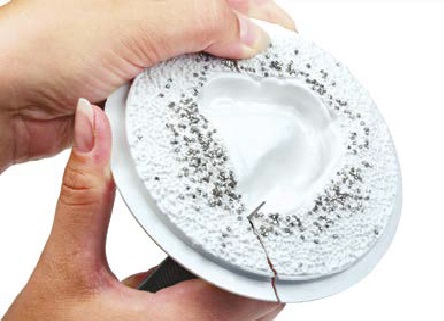
Heat the material by setting the code or recommended heating time according
to the instructions. Close the pressure chamber and open after cooling
phase has finished. Remove moulded bite plate from the model. Cut off
excess with cutting bur (REF 3214) or HM carbide cutter (REF 3369).
3. Finishing
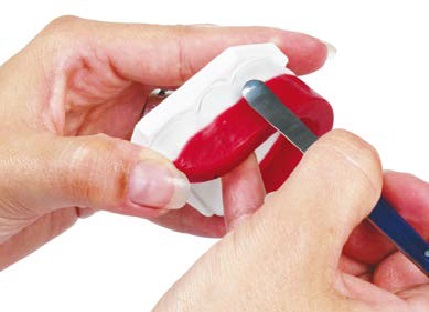
Finish with HM carbide bur (REF 3369).
Drill retentions in the tray, put the wax on it and fill the space between wall
and tray with liquid wax.
Mould for Temporary Crowns and Bridges
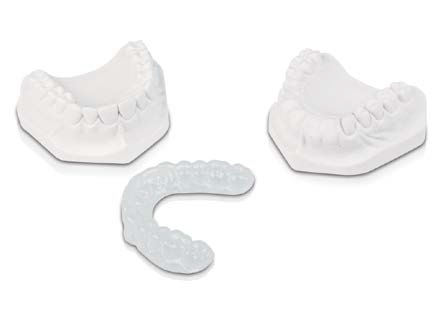
List of Materials:
COPYPLAST®0.5 mm (single crown)
COPYPLAST®1.0 - 2.0 mm (bridges)
Finishing Set®
Orthodontic insulating agent®
1.Insulating and embedding
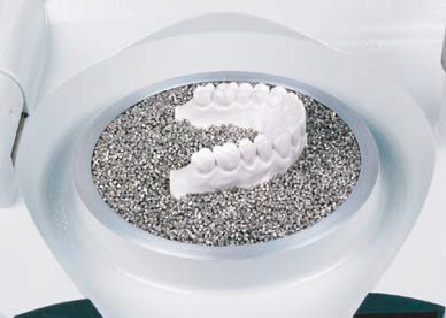
Trim the model flat and break sharp edges.
Soak shortly and place it on the model platform. If models should be embedded
in pellets, take care that the parts of the model to be moulded are above
the model cup rim; when using COPYPLAST® 0.5 /1.0 mm air may pass
through the foil caused by the pellets.
Spaces can be filled with artificial teeth.
2.Pressurizing
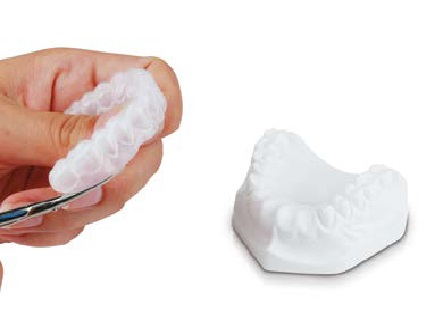
Heat the foil by setting the code or recommended heating time according to
the instructions.
Close the pressure chamber and open after cooling phase has finished. Cut
the foil distally directly on the model with scalpel or scissors, remove it carefully
and cut it to desired size. Fill mask with veneer resin; in case of direct
temporaries polymerize at the patient, in case of indirect temporaries polymerize
on the plaster model.
3. Finishing
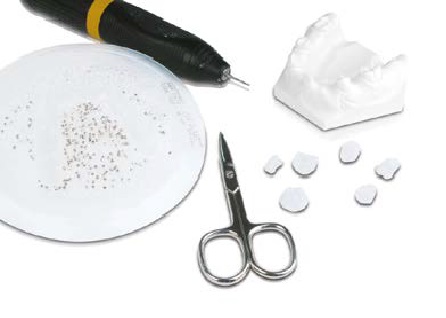
For single crowns press a COPYPLAST®foil over the model and cut off as a
coping. For the fabrication of individual strip crowns DURAN®1.0 mm can be used.
Hints:
Fix pouring mask on the model before polymerization (with wax or rubber ring).
COPYPLAST®does not need any special insulation, showing a nearly completely polished acrylic resin surface.
Temporary splint
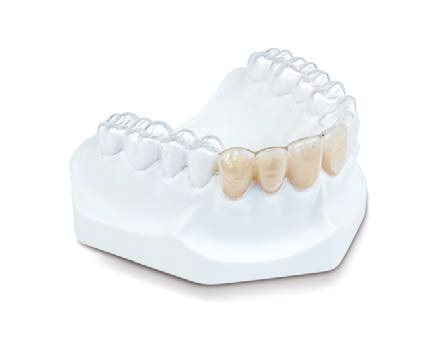
List of Materials:
DURAN®0.75 -1.5 mm (depending on extent)
ISOFOLAN®foil
Medical adhesive(SD-Cyano Veneer Fast,CA® Cyano Veneer Fast
Finishing set®
1.Insulating and embedding
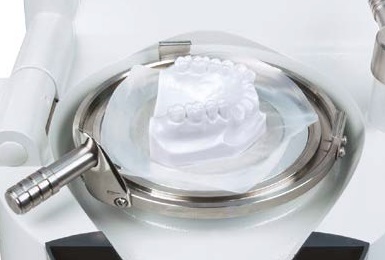
Trim the model flat and place it on the model platform. PressISOFOLAN®foil
over the model and cut off foil at the model bottom. For space closure put in
plastic teeth and fix basally with sticky wax.
2.Pressurizing
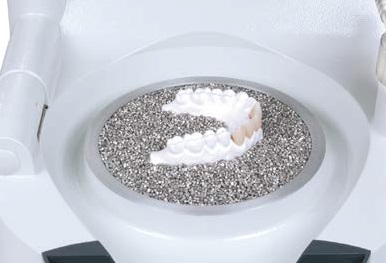
Embed model in pellet, so that the parts of the model to be moulded are
above the model cup rim, respectively the teeth should stand vertically to the
foil to be pressed on.
Fill up model cup with pellets to the upper rim and make sure the edges of
the cup are clean. Heat the foil by setting the code or recommended heating
time according to the instructions.
3. Finishing
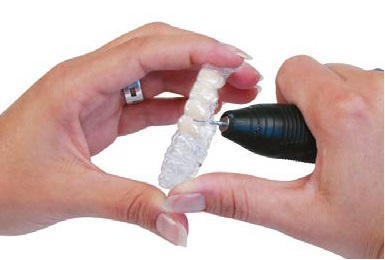
Cut the plate radially resp. cut roughly below the moulded part, remove carefully
from model and finish to exact length.
Hints:
Besides mechanical retention, the plastic teeth may be moistened with medical adhesive (e.g. SD-Cyano Veneer Fast) before pressure moulding
DURAN®for additional chemical compound.
Temporary plate Partial denture
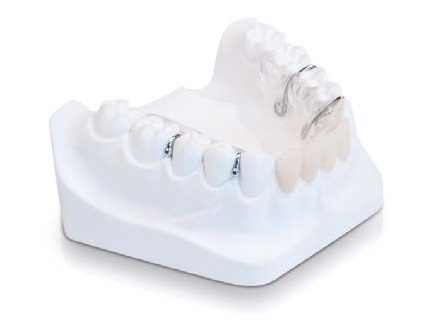
List of Materials:
BIOCRYL®C rosa transparent 2,0 mm für OK
BIOCRYL®C klar 3,0 mm für UK
ISOFOLAN®Folie
BIOCRYL®-RESIN
Finier-Set®
1.Insulating and embedding
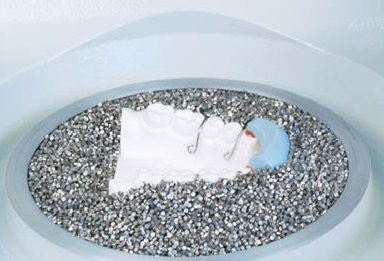
Press anISOFOLAN®foil over the model and cut the foil at the model bottom.PerforateISOFOLAN®ISOFOLAN®foil and fix teeth with prepared
plaster wall on the model. Embed the model up to the incisal resp.
occlusal areas in pellets. Fill up model cup with pellets to the upper rim and
make sure the edges of the rim are clean.
2.Pressurizing
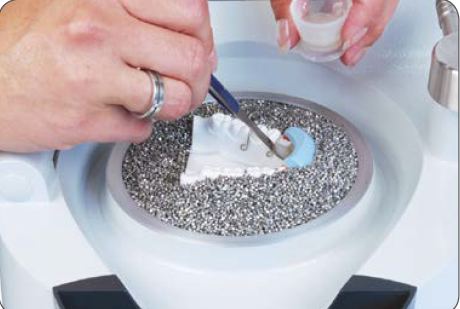
Heat the foil by setting the code or recommended heating time according
to the instructions. During the last 20-30 sec. of the heating time put
BIOCRYL® RESIN under the teeth and the clasp retentions. Close pressure
chamber and open after cooling phase has finished.
3. Finishing
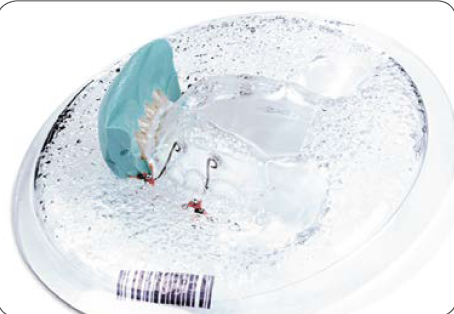
Remove BIOCRYL® C from the model. Cut off excess with cutting bur
(REF 3214) or HM carbide bur (REF 3369). Finish with HM carbide bur fine
(REF 3370) or finishing bur (REF 3377). Polish as usual.
Drilling/X-ray template
DURAN2,0–3,0 mm
IMPRELONS pd 2.0 -3.0 mm
ISOFOLANfoil
Trennfräser und HM-Schneidfräser
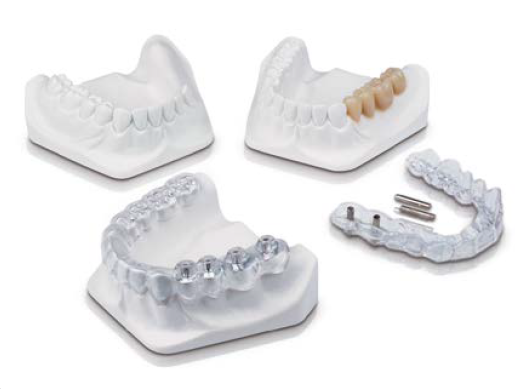
1.Insulating and embedding
Duplicate the model formed with wax-up, smooth occlusal resp. incisal
areas, pierce holes for 2.35 mm titanium pins and place pins. Trim the model
flat and place it on the model platform, then press ISOFOLAN® foil over the
model. Open after cooling time has finished and cut off foil at the model bottom
and in the area of the intended implants.
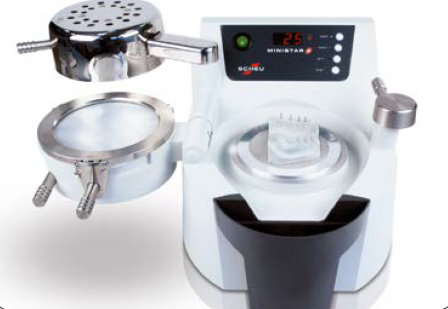
2.Pressurizing
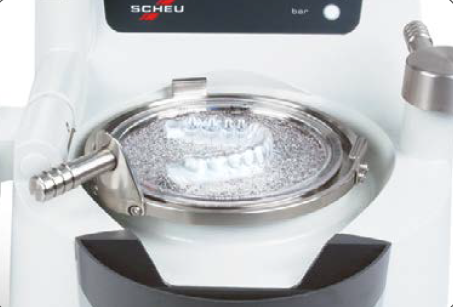
Embed model in pellets, so that the model parts which shall be moulded are
above the model cup rim and fill pellets up to the rim. Heat the foil by setting
the code or recommended heating time according to the instructions and
open after cooling phase has finished.
3. Finishing
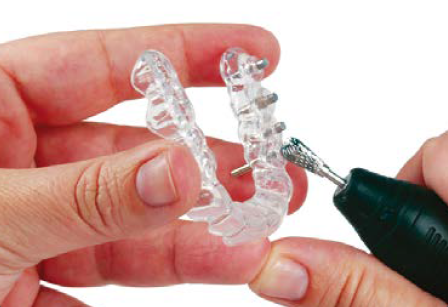
Cut the plate radially, remove it carefully and cut with bur to exact length.
Cut out titanium pins from the top.
OPGs (orthopantograms) use splints with movable pins. After removal of pins
the splint can be used as a drilling template for the pilot bur.
Bleaching splint
List of Materials:
BIOPLAST-BLEACHbleach 1.0 mm or
COPYPLAST1.0 / 1.5 /2.0 mm or
BIOPLAST1.0 -3.0 mm
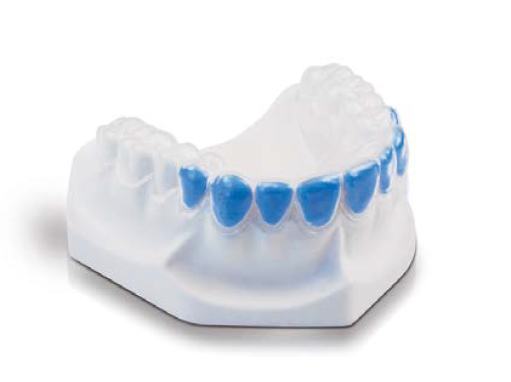
BLUE-BLOKKER
1.Insulating and embedding
Mark the areas you want to bleach by a pencil. Apply BLUE-BLOKKER® serving
as a space maintainer in the desired layer thickness.
2.Pressurizing
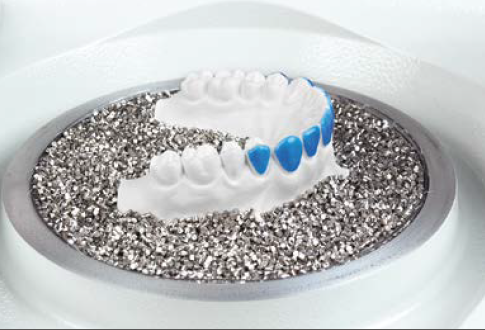
Place reduced model on the platform resp. embed complete model in pellets
and fill up cup to the upper rim. Pressurize BIOPLAST® bleach, COPYPLAST®
or BIOPLAST® depending on the desired stability and model size.
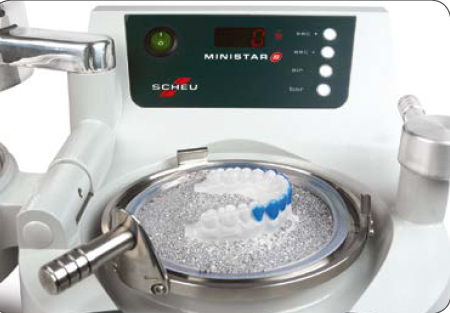
3. Finishing
Cut the foil radially, remove carefully from model and cut to exact length.
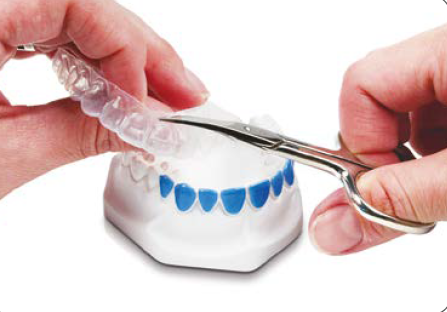
Fluoride splint
List of Materials:
BIOPLAST 1.0 - 3.0 mm (space maintainer)
DURAN1,0–1,5 mm
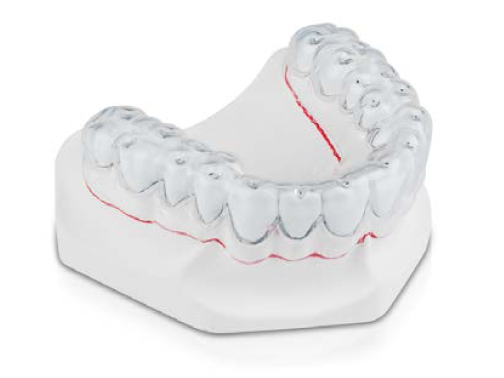
1.Insulating and embedding
Mark the areas you want to fluoride with a pencil and moisten with
BIOPLAST®-Insulating agent. Place flat trimmed model on the platform.
Place a BIOPLAST® foil of the desired thickness and heat by setting the code
or programm the recommended heating time. Open after cooling phase has
finished. Cut off space maintainer according to the marked areas and perforate
occlusally by means of a sharp point, ie. probe, scalpel, in order to
create space for a support.
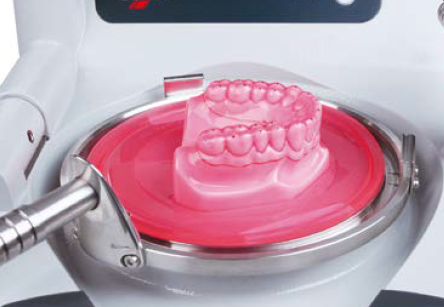
2.Pressurizing
Put prepared space maintainer on the model. Place reduced models on the
platform resp. embed complete models in the pellets and fill up model cup
up to the upper rim. Fix a foil of DURAN® in the desired thickness and heat by
setting code or according to the recommended heating time. Close pressure
chamber and open after cooling phase has finished.
3. Finishing
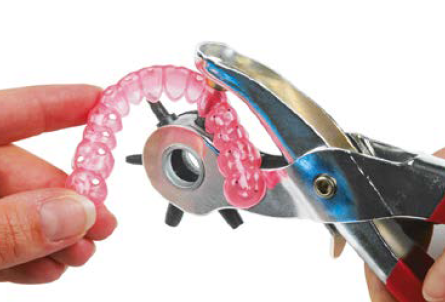
Cut the foil radially and remove it carefully from the model. The pressure
moulded space maintainer made of BIOPLAST® won’t bond to DURAN® and
can be removed easily. Then proceed with finishing.
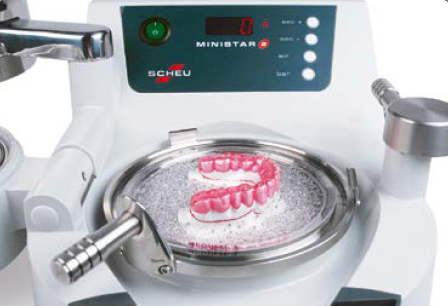
BRUX CHECKER®
BRUX-CHECKERFoil
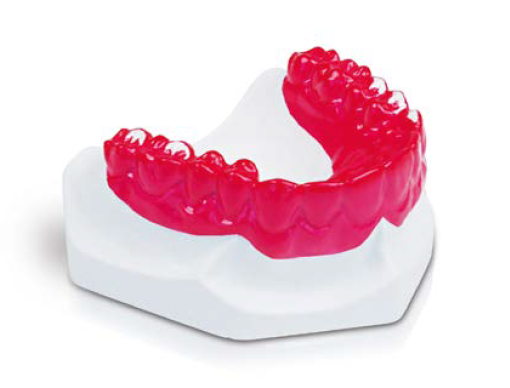
1.Insulating and embedding
Place upper or lower arch on the model platform resp. embed complete
upper or lower model in the pellets and fill up model cup to the upper rim.
One
2.Pressurizing
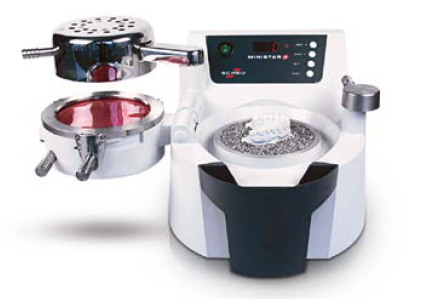
One side of the BRUX CHECKER® foil is colour coated. By scratching the
foil margin you can verify the correct fixing of the foil. Heat according to the
recommended heating time. Close pressure chamber and open after cooling
phase has finished.
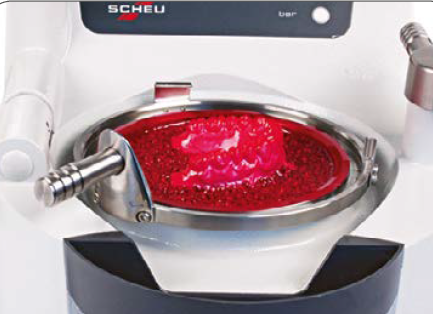
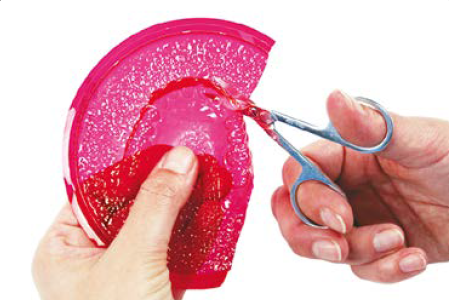
3. Finishing
Cut foil radially and remove carefully from the model.
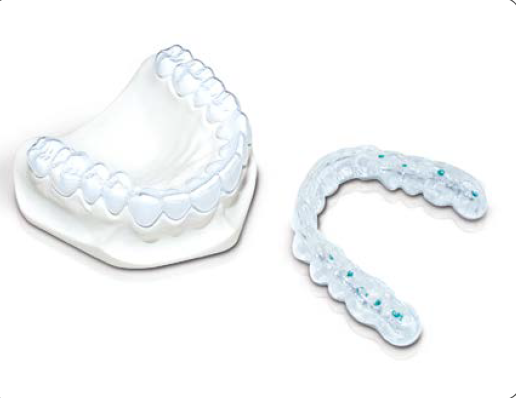
Occlusal splint
List of Materials:
DURAN0.5 /0.75/ 1.0 / 1.5 / 2.0 mm (hard) or
DURASOFTpd 1,2 / 1,8 / 2,5 / 3,0 / 4,0 mm (hard/soft) or
BIOPLAST1.5 / 2.0 / 3.0 mm (soft)
ISOFOLANFoil
DURASPLINTKit (transparent adjusting material)
Finishing Set
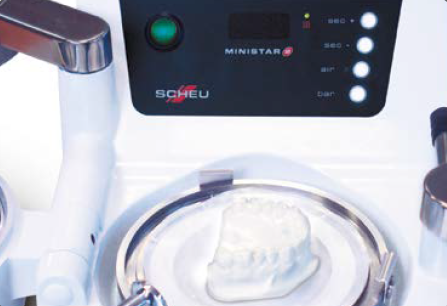
1.Insulating and embedding
Trim the model flat and place it on the model platform. Press ISOFOLAN® foil
over the model (insulation as well as space maintainer for comfortable fit of
the splint). BIOPLAST® splints should be insulated with BIOPLAST®-Insulating
agent and a brush. Cut off the foil in the desired extent of the splint with a
scalpel and perforate interdentally to avoid air bubbles. Embed the model in
pellets up to approx. 4 mm below the cervical margin and fill up the model
cup to the upper rim; when using BIOPLAST® the model is always placed
on the model platform. Fill missing teeth with plaster or blocking-out putty
(REF 3220) to avoid crimps.
2.Pressurizing
Make sure the edges of the cup are absolutely clean. Heat the foil by setting
the code or recommended heating time according to the instructions. Close
the pressure chamber and open after cooling phase has finished
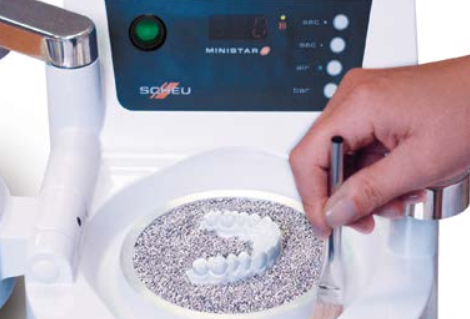
3. Finishing
Kit (transparent adjusting material)
Finishing Set
Trim the model flat and place it on the model platform. Press ISOFOLAN
®
foil
over the model (insulation as well as space maintainer for comfortable fit of
the splint). BIOPLAST
®
splints should be insulated with BIOPLAST
®
Insulat
-
ing agent and a brush. Cut off the foil in the desired extent of the splint with
a scalpel and perforate interdentally to avoid air bubbles. Embed the model
in pellets up to approx. 4 mm below the cervical margin and fill the model
cup up to the upper rim; when using BIOPLAST
®
the model is always placed
on the model platform. Fill missing teeth with plaster or blocking-out putty
(REF 3220) to avoid crimps.
Make sure the edges of the cup are absolutely clean. Heat the foil by setting
the code or recommended heating time according to the instructions. Close
the pressure chamber and open after cooling phase has finished.
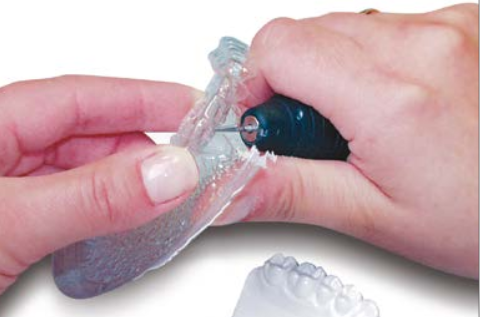
Depending on the kind of material and thickness, trim the splint with a scis-
sor, cutting bur (REF 3214) or HM carbide cutter (REF 3369). Further finish-
ing with the finishing set. The edges of hard material can be polished as
usual. BIOPLAST
®
can be polished with the OSAMU polisher (REF 3247) or
thermally with a flame or torch.
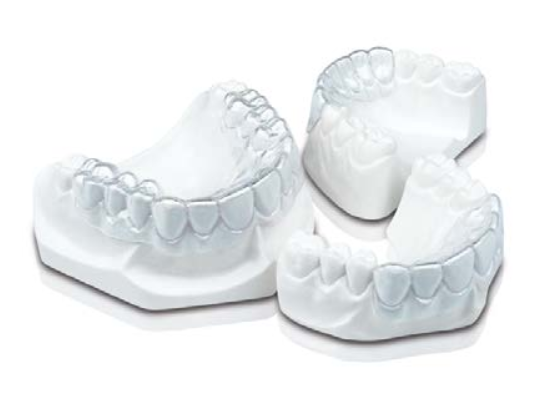
Splint retainer Retention splint
COPYPLAST
DURAN
IMPERLON
ISOFOLAN
HM-CARBIDE-CUTTER
FINISHING-SET
DIMO
DIMO-PRO
1.Insulating and embedding1
Place the flat trimmed, reduced model on the model platform. When
using DURAN
®
press an ISOFOLAN
®
foil over the model serving as
insulation and cut off the foil at the model bottom with a scalpel. In
case of using COPYPLAST
®
C moisten the model.
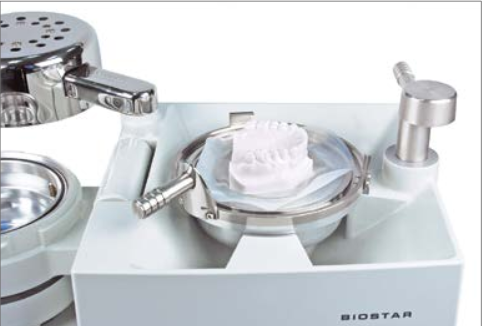
2.Pressurizing
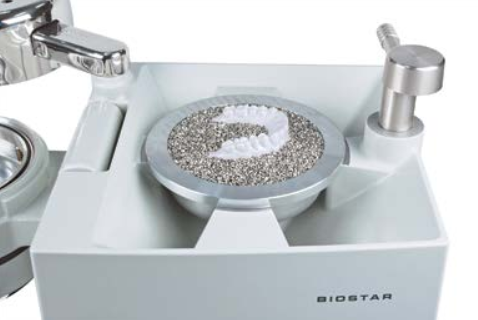
Place model on the platform, in case of high models embed in pel-
lets. Heat the foil by setting the code and recommeded heating times
according to the instructions. Close pressure chamber and open after
cooling phase has finished.
3. Finishing
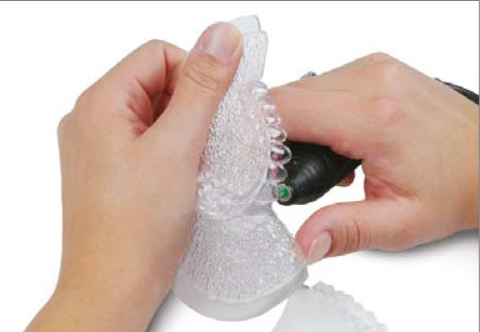
Remove foil carefully and cut to exact length.
Retention plate Expansion plate
1.Insulating and embedding
Bend and adjust clasps without fixing them. Place flat trimmed model on
the platform and press an ISOFOLAN
®
foil over it. Cut off surplus foil on
model bottom and perforate interdentally with scalpel. Fix clasps from the
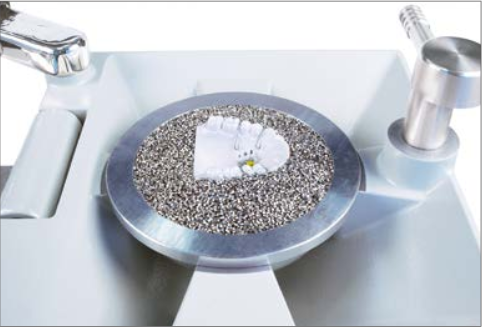
buccal side with sticky wax. Embed vestibular model parts in the pellets
up to occlusal areas. Fill up large lingual undercuts with blocking-out putty
(REF 3220).
2.Pressurizing
Heat the material by setting the code or recommended heating time accor
-
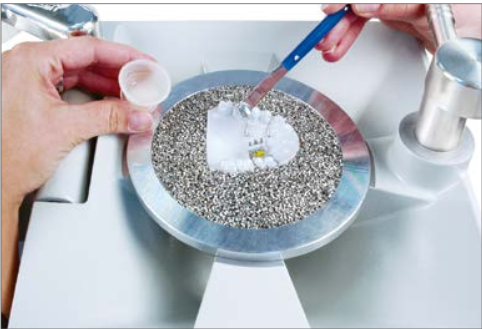
ding to the instructions. During the last 20 - 30 sec of the heating time, put
some drops of BIOCRYL
®
resin on the clasp retentions, close pressure cham-
ber and press heated material over the still liquid acrylic. BIOCRYL
®
resin will
polymerize during the cooling phase in the pressure chamber and will bond to
BIOCRYL
®
C during this procedure.
3. Finishing
For initial trimming use a cutting bur (REF 3214). The clasps and the labial
bow are released with the finishing bur (REF 3377). The finishing bur is
made of a special soft alloy that will not damage the clasps.
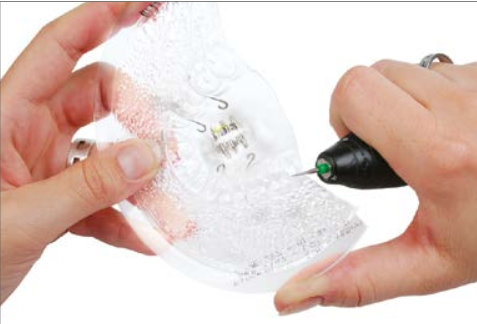
Bracket transfer matrix
BIOPLAST-INSULATION-AGENT
BLUE-BLOKKER
Silicone spray
3M Unitek Laboratory adhesive
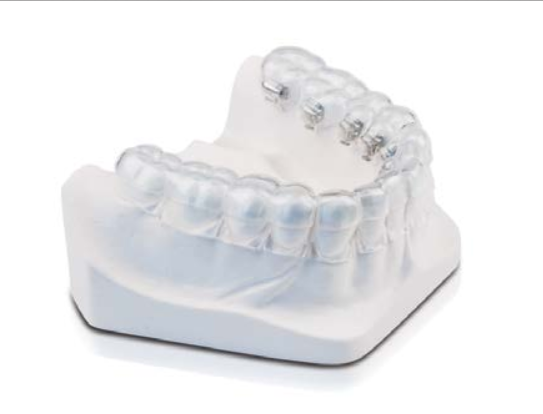
1.Intended set-up
For fabrication of duplication model please refer to page 5 (model duplica-
tion). Proceed with fabrication of intended set-up with duplication model.
Hints for positioning of brackets on the prepared set-up model:
Apply a few drops of water soluble adhesive to the tooth. Position lingual
bracket. Changes in positions can be done with a hot wax knife, inserted
in the bracket slot. Avoid too much adhesive between bracket and tooth.
Adhesive should dry for 10 min
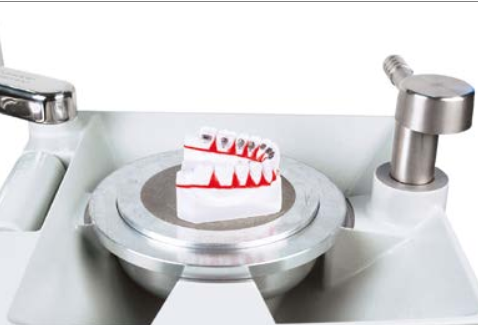
2.Pressurizing BIOPLAST ®
Fix set-up model with BLUE-BLOKKER
®
. Apply BIOPLAST
®
Insulating agent
on the flat trimmed model and place it on the platform. Heat BIOPLAST
®
by setting the code or the recommended heating time according to the
instructions. Close pressure chamber and open after cooling phase has
finished.
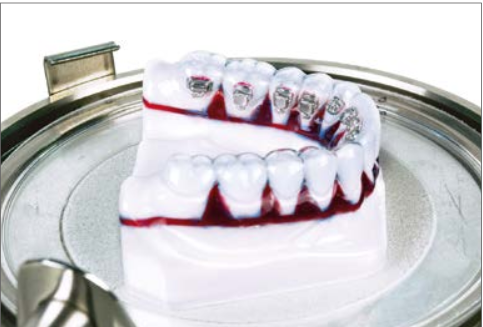
3.Soaking
Soak model into water to dissolve the adhesive. Remove the foil with
brackets from the model and reduce BIOPLAST
®
with scissors (it should be
2 - 3 mm longer than the gingival margin).
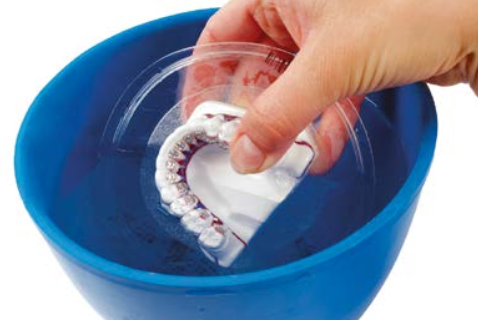
4.Segmentation of BIOPLAST ®
Segmentation of the foil is done tooth by tooth, thus allowing the transfer to
the original model
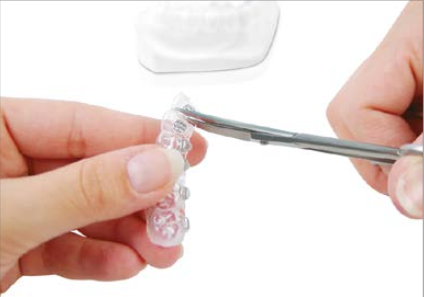
5.Positioning of segments on the original mode
Position the BIOPLAST
®
single tooth segments on the original model, then
proceed with insulating them with silicone spray or vaseline, so they can be
removed easily from the DURAN
®
foil later. In case of crowdings leave out
the corresponding tooth
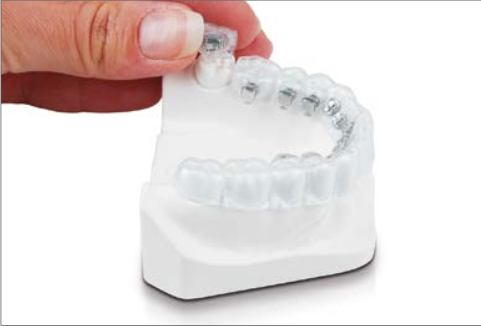
6.Pressurizing DURAN ®
Embed the original model with brackets in BIOPLAST
®
segments (refer to
picture) and press an ISOFOLAN
®
foil over it. Heat foil by setting the code
or recommended heating time according to the instructions. Close pressure
chamber and open after cooling phase has finished
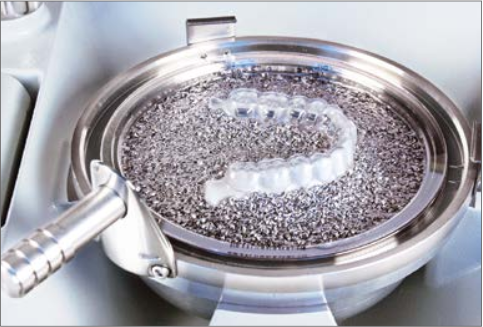
7.3 tooth segments for transfer
Cut foil radially and remove from model. Proceed with finishing. Exten-
sion of the DURAN
®
should be about 2-3 mm shorter than BIOPLAST
®
.
Separate DURAN
®
in 3 tooth segments, serving as bracket transfer from
model to patient.
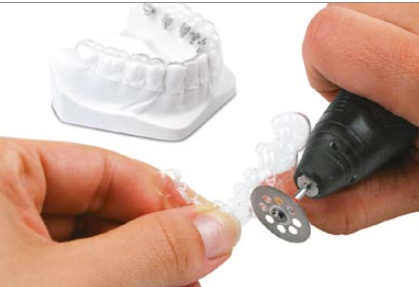
Bracket transfer mask
List of materials:
COPYPLAST
3M Unitek Laboratory adhesive
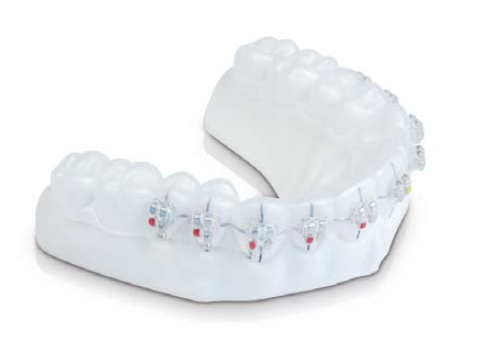
1.Insulating and embedding
Apply a drop of water soluble adhesive on the teeth with a probe. Position the
bracket. Changes in position can be done with a hot wax knife, inserted in the
bracket slot. Avoid too much adhesive between bracket and tooth. Place flat
trimmed model on the platform.
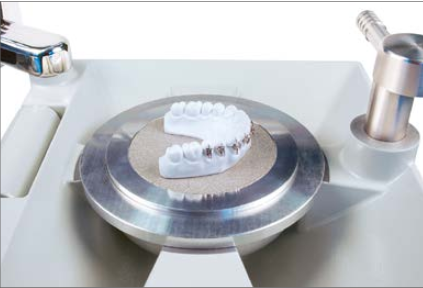
2.Pressurizing
Heat the foil by setting the code or recommended heating time according to
the instructions. Close pressure chamber and open after cooling phase has
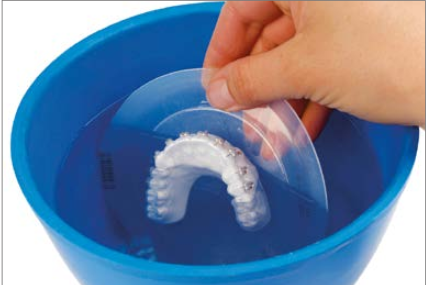
finished. Soak model into water in order to dissolve the adhesive. Remove
foil and clean residues of adhesives with luke warm water.
3. Finishing
Cut mask with scissors.
Preparing fixing of the brackets:
Insert incisal perforations with a scalpel, so that surplus adhesive can escape.
Information for dentist/orthodontist:
Apply adhesive to the base (if possible pasty) and insert mask directly on the
patient. Press each bracket with an instrument or finger on the tooth and
after the adhesive has set, remove the foil beginning from the distal side
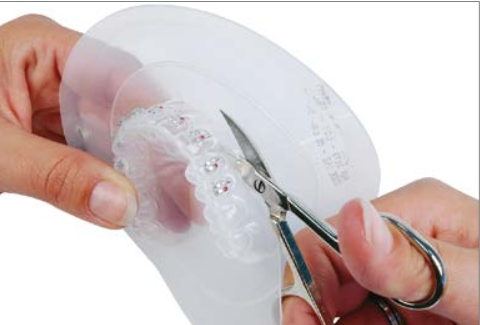
Adaptation splint
List of Materials:
DURAN
ISOFOLAN
BIOCRYL-RESIN
BLUE-BLOKKER
FINISHING-SET
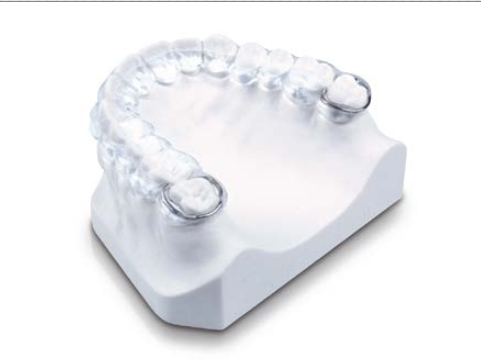
1.Insulating and embedding
Trim the model flat and place it on the model platform. Press an ISOFOLAN
foil over the model. Cut off the foil at the model bottom with a scalpel and
cut interdentally small incisions in order to avoid air bubbles. If desired, add
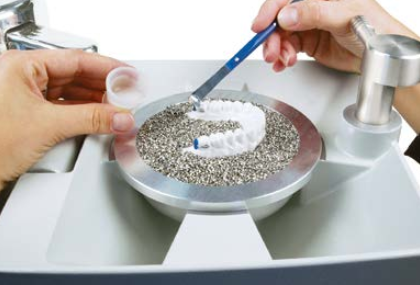
wire elements for distal connection and fix from the distal side with BLUE-
BLOKKER
. (Cut off ISOFOLAN
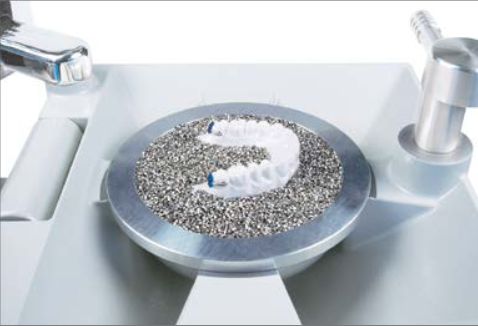
foil in this area before.) Embed the model in
pellets up to 5 mm under the rim of the gingiva. Fill model cup with pellets
to the upper rim making sure the edges of the cup are clean
2.Pressurizing
Heat the foil by setting the code or recommended heating time according
to the instructions. Put some drops of BIOCRYL
RESIN on the retentions of
the wire during the last 20-30 sec. of the heating procedure. After heating
time has finished, close pressure chamber and press the foil over the liquid
acrylic. For coarse finishing, you may use the cutting bur (REF 3214). The
wire elements can be trimmed out with the finishing bur (REF 3377), made
of a soft special alloy that will not damage the wires
3. Finishing
Cut the plate radially resp. cut roughly below the dental arcade, remove
carefully from the model and finish to exact length. Trim out occlusal areas
and wires
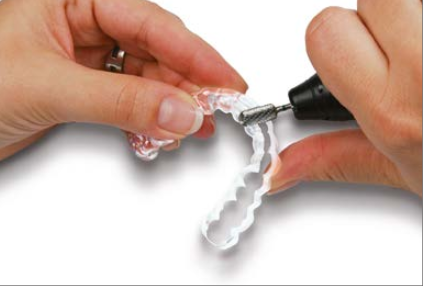
Positioner (2 or 3 layers)
List of Materials
BIOPLAST
INSULATION-AGENT
FINISHING-SET
DIMO
DIMO-PRO
HEATING-SUPPORT
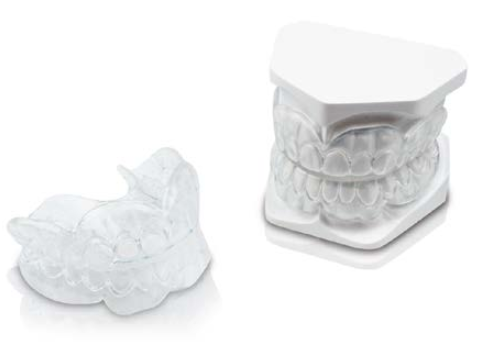
1.Insulating, embedding and pressurizing
Apply BIOPLAST
Insulating agent to working models (upper and lower) –
only to those parts which will be covered by the positioner! Trim models
flat and place on model platform, then press a BIOPLAST
of the required
thickness over the model. Cut surplus material at the model bottom using
the finishing set, scissors or scalpel. Cover the palatal and lingual area with
a damp cloth or similar material.
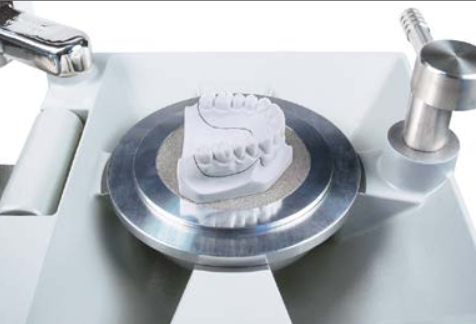
2.
Heat both models for about 3 - 4 min. under the infrared heater using the
heating support (REF 3452, distance between occlusal area and heater
about 10 cm). Place both models into the articulator or fixator and close ap-
pliance slowly. Smooth the lingual area between upper and lower jaw in this
plastic state with moistened fingers.
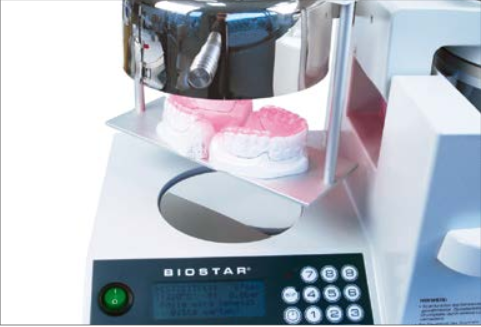
3. Finishing
After about 2 min. of cooling, the exterior shape of the positioner can be formed
with scissors or scalpel. Unevenness can be levelled by melting BIOPLAST
before taking out the models. Use scissors resp. BIOPERM trimmer for re-
quired corrections of the edges in order to avoid air inclusions
4.
Pierce the bixmaxillary BIOPLAST
mould with drill bit in the interdental
space at the papilla from the labial and buccal side – the lingual and palati-
nal areas of the mould will be finished later. If breathing holes are foreseen,
pierce them now into the mould
5.
Reset the models in the bimaxillary unit made of BIOPLAST
. For an opti-
mum compound, clean the areas which are to be melt into with lukewarm
water and let them dry, avoiding any further contact. Place upper and lower
model unit upright in the pellets with the occlusal surface parallel to the
swivel axis and embed them carefully, i.e covering the model bottom and
releasing the distal areas. Swivel the pressure chamber in working position
to check whether there is enough space for the two models to all sides,
especially to the top. Then press a 2 mm BIOPLAST
sheet over the models.
Air release and pressure decrease in the area of the 2nd molars are normal
in this case – wait 1 minute before opening the pressure chamber.
6.
Cut excess BIOPLAST
material with scissors, scalpel or hot knife. Keep dis-
tance from the final edges, lay open distal model sides. Take models out of
the BIOPLAST
mould and cut away surplus of material along the contours
with scissors – cut interior shape to the final form. Eventually re-drill breath-
ing holes from the outside
7.
Smooth the edges with a BIOPERM trimmer at high speed. Finish and polish
preferably with DIMO
/ DIMO PRO. Polish the edges with a hot knife or with
flame – attention: avoid deformation.
When using BIOPLAST
4.0 / 5.0 mm the positioner can be fabricated in
two layers as well. In this case, after pressure moulding the two models are
heated under the heating support and then carefully melt and modelled in
the articulator
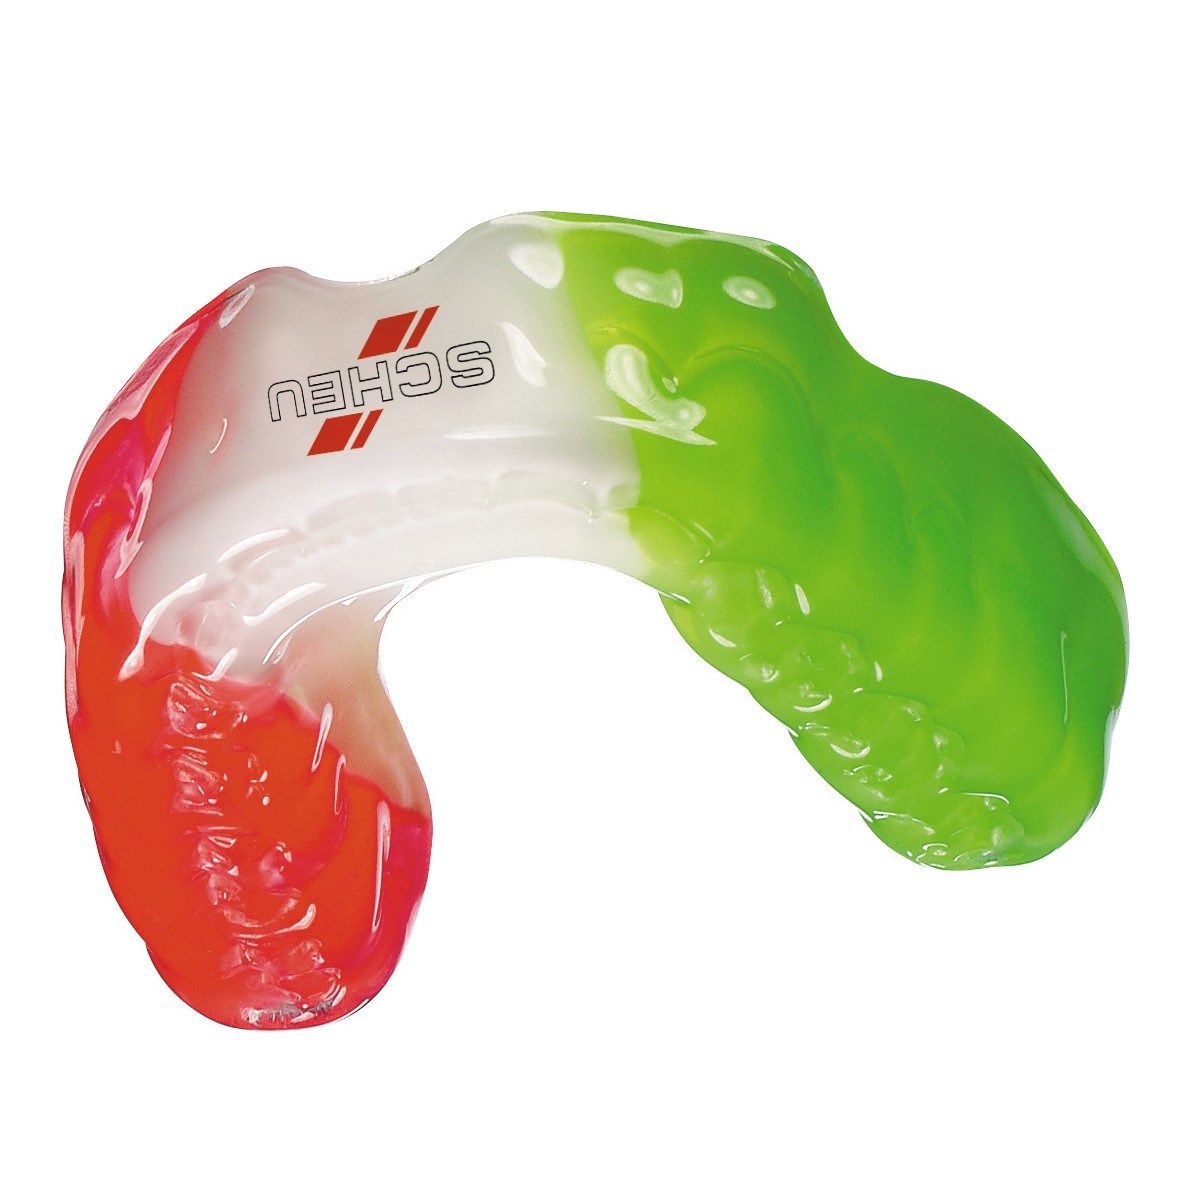
BIOPLAST ® XTREME
List of Materials:
BIOPLAST-XTREME
BIOPLAST-INSULATING -AGENT
HEATING-SUPPORT
BIOPERM-TRIMMER
OSAMU-POLISHER
DIMO-PRO
1.Insulating, embedding and pressurizing
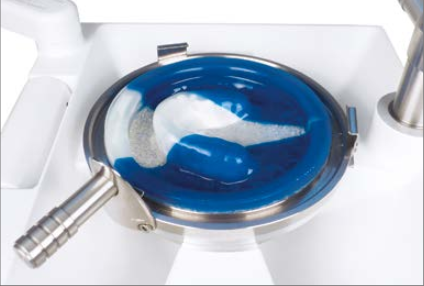
Apply one thin layer of BIOPLAST
Insulating agent only to those parts of the
working model which will be covered by the mouth guard. Embed model in
pellets with the clear V-shaped part of the BIOPLAST
Insulating agent cov-
ering the desired extension of the front section (e.g. from 3 - 3). Place pellet
cover on pellets. Make sure the foil is fixed with the soft side down and the
labels being placed in the direction of the heater. The imprint on the label has
to be readable. Heat the foil by setting the code or recommended heating
times according to the instructions. Lock pressure chamber and open after
cooling phase has finished. Cut foil on model bottom
2.
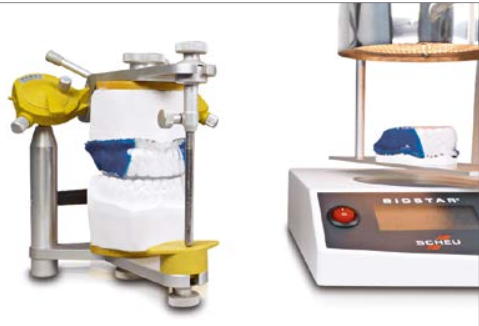
Warm up the occlusal surfaces under the infrared heater using the heating
support. Apply BIOPLAST
Insulating agent to the antagonist model and put
the models into the articulator for counter bite. Cool down with compressed
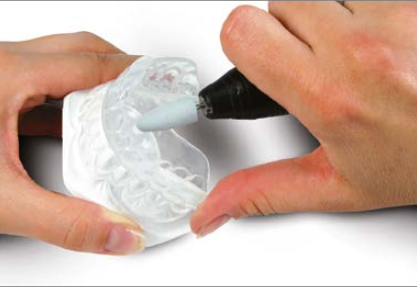
air or water and remove. Polish the edges using the finishing set. If neces-
sary, polish thermally
3. Finishing
Cut mouth guard to the desired shape. Polish the edges with OSAMU-Polis-
her or DIMO PRO wheel.
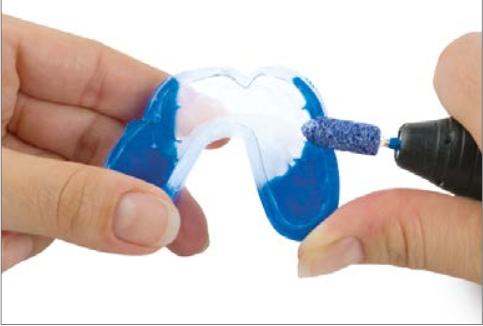
OSAMU-Retainer ®
List of Materials:
IMPERLON-S-PD
BIOPLAST
OSAMU-BOND
BIOPLAST-INSULATING-AGENT
SD-FOIL-SCISSORS-B
FINISHING-SET
DIMO
DIMO-PRO
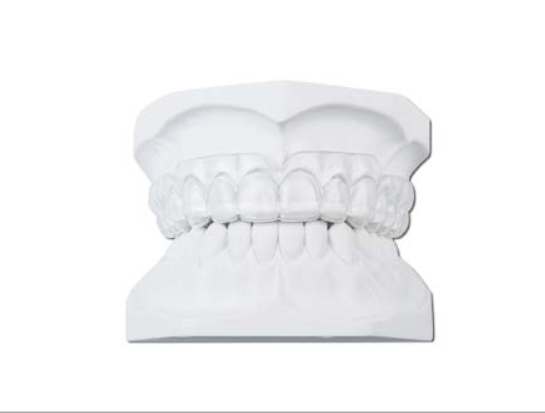
1.Insulating and embedding
Apply BIOPLAST
insulating agent only to the required splint areas. Trim
the bottom of the model flat and place it on the model platform. Heat the
foil by setting the code or recommended heating time according to the in-
structions. Close pressure chamber and open after cooling phase has fin-
ished. Trim out occlusal areas and incisal edges. For stability reasons, cut
BIOPLAST
only at the bottom of the model
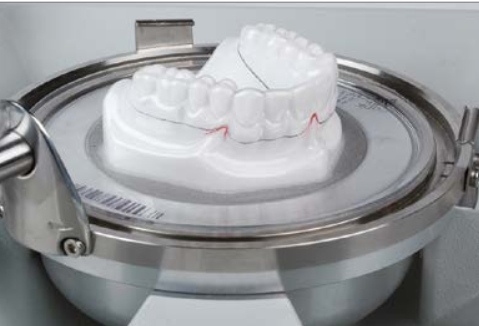
2.Pressurizing
Trim and clean the BIOPLAST
foil with luke warm water and replace it on
the model. Embed in pellets up to approx. 10 mm below the cervical edge.
Fill model cup with pellets up to the upper rim and make sure the edges of
the cup are clean. Heat the foil by setting the code or recommended heating
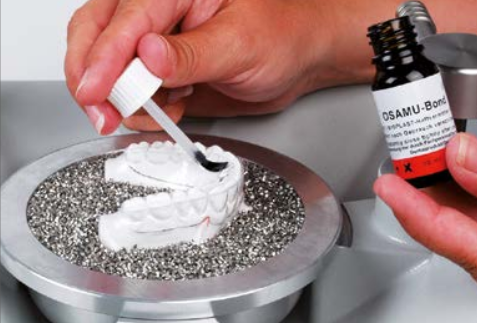
time according to the instructions. Apply OSAMU-Bond to the BIOPLAST
material during the last 15 sec. of heating of IMPRELON
S pd. Close pres-
sure chamber. For an optimum compound, leave the model 5 min. longer
under pressure
3. Finishing
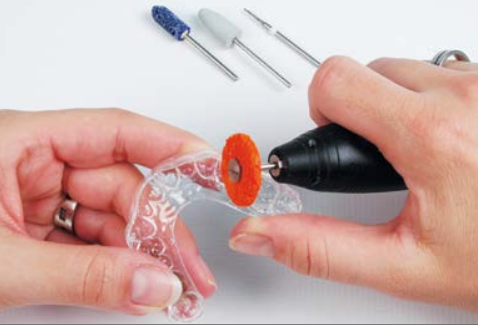
In order to avoid tensions or cracks, trim the plate radially from the edges to
the model. Then remove foil carefully. Trim exact length of OSAMU-Retainer
and polish the edges of the hard material carefully
Coating foil Skin packaging
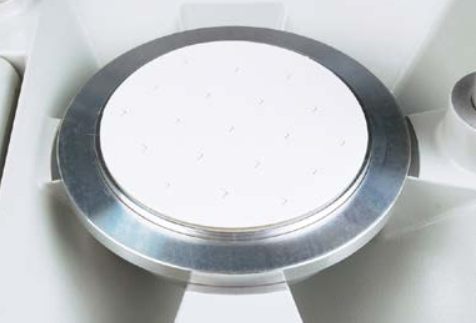
1.Insulating and embedding
Place blister packaging on the model platform.
Position model on blister packaging
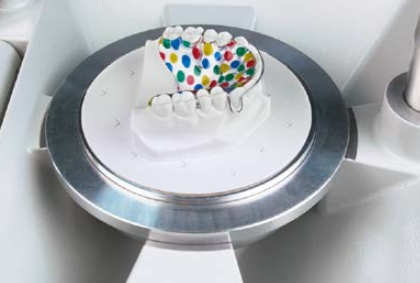
2.Pressurizing
Set the code and heat foil according to the instructions
3. Finishing
Close pressure chamber and open after cooling phase has finished. Further
finishing is not necessary.
